3 Fun Projects To Do With Kids

As a mother, I know how important it is to be with my son and how he likes it when we do crafts, some of which he starts to incorporate into his play. So, below, I’ll explain some of the fun projects you can do together with your children, to stimulate creativity and the development of fine psychomotricity.
Before starting, you should keep in mind that, to perform this activity, there are certain tools that should only be used by parents, such as the hot glue gun. All projects that I’m going to describe here must be done together, that is, we must never leave children alone.
So, just prepare some tools and materials that you certainly already have at home to carry out these fun projects. Let’s start?
Fun projects to do with kids

cotton sheep
Necessary materials:
- 2 plastic eggs, the kind that have a surprise inside (one bigger and one smaller).
- Cotton balls (about 50-55).
- Lollipop sticks.
- Black permanent marker brush.
- Black or decorative adhesive tape.
- Swabs.
- Glue gun.
- White glue.
- Plastic eyes. They can also be made with a piece of white felt and a black one on top.
Step by step:
- First, take the big egg and glue the prepared cotton balls. So we let it dry.
- Make the paws with the lollipop sticks that we are going to paint with the black marker. So let’s stick them in a V shape on the front of the egg and also on the back.
- For the head, use the small egg, which should be covered with pieces of black masking tape or the color we’ve chosen.
- As for the cotton swabs, take the cotton ends and also cover them with duct tape. They will be the sheep’s ears, which we are going to glue to the sides of the head. So, we’re also going to glue some cotton balls on top of the head and join the head and body with the glue gun.
- Finally, we must glue the eyes with hot glue to finish the little lamb, which our child will surely love.
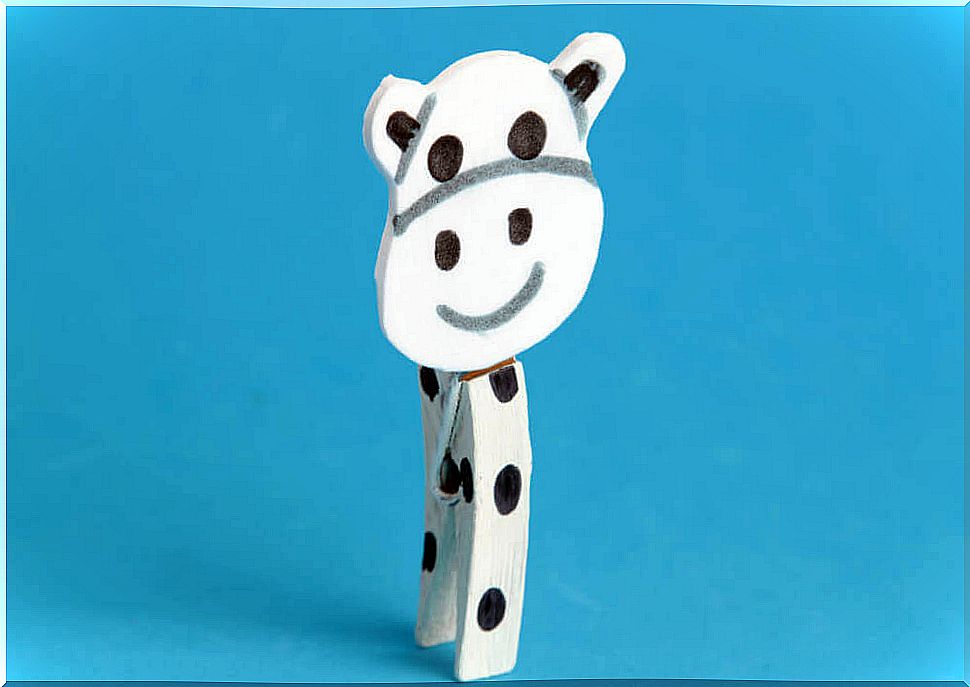
Preachers to leave messages for the whole family
Materials needed:
- Wooden clothespins (one for each family member).
- Fine tip markers.
- Magnets.
- Large, medium and small size cardboard circles.
- Wool or embroidery thread to make the hair of family members.
- Scissors.
- Glue.
- Assorted tapes.
- Toothpick.
Step by step:
- We’ll color each preacher the way we like it best, as well as the cardboard circles that will be the faces of the family members. The big circles will be for the parents and the small ones for the children.
- We’ll do our family’s hair by winding wool or embroidery thread that we’ll glue over the face we painted.
- With the assorted ribbons, we’ll make a tie for Dad. To do this, we will tie a knot in a piece of ribbon and, at the bottom, we will make the shape of a tie. Let’s put it under Dad’s face.
- We can make a bow if it’s a girl or a lollipop if it’s a boy, as a decorative element. We’ll make the lollipop by painting a spiral on a small cardboard circle and pasting it onto a toothpick.
- Finally, we’re going to glue the magnets to the back, which will be used to attach the pegs to the refrigerator, so that we can leave messages for each member of the family.
Reversible felt crown
With this crown, your little one will be the king of the games and, by participating in its making, he will feel involved and will raise it the way he wants. Let’s start!
Necessary materials:
- Thick felt in the desired color.
- Scissors.
- Decorative fabric ribbon, in the color and print of our choice, 1 to 2 cm wide.
- White glue.
- Acrylic paint.
- Wine bottle stopper.
Step by step:
- We are going to cut a piece of felt that is about 10 or 15 cm high and long enough to go around our child’s head. We cut the upper part of the felt making ends, like those seen on crowns.
- So, let’s work on one side of the crown, where we ‘ll place the decorative ribbons as we prefer. One way to do this is to contour the ends of the crown until we reach the bottom, making a zigzag pattern. So we’ll form some diamonds.
- On the other hand, we can take the cork and dip it in the acrylic paint of our choice to print stamps all over the crown, thus creating the designs we like the most.
- Finally, glue the ends of the felt wreath together. That way, when your child gets bored, he can turn it inside out, having two crowns in one!
Fun projects are a good choice for learning and having fun
Your child will surely love making these fun projects. With them, parents can share moments together while their children have fun participating and seeing how they can obtain very interesting objects from simple materials. So, get to work and start working on your artworks now!